If you have a light fixture that uses a screw-type socket, you may need to change the lightbulb from time to time. This is a simple task that anyone can do, but you need to follow some safety precautions to avoid electric shock or injury. Here are the steps to change a lightbulb with a screw-type socket:
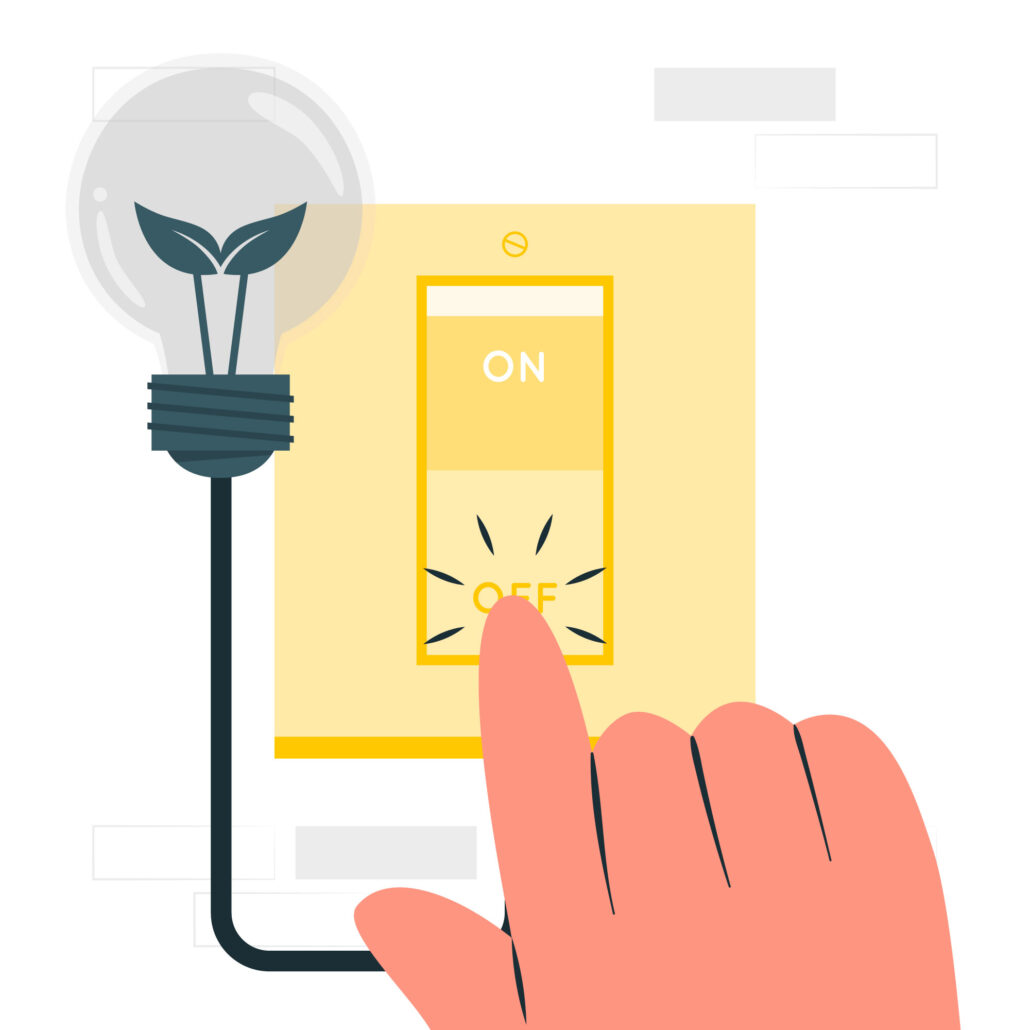
- Turn off the power to the light fixture. You can do this by flipping the switch on the wall, or by turning off the circuit breaker that controls the light. Never try to change a lightbulb when the power is on, as you could get electrocuted or damage the fixture.
- Wait for the old lightbulb to cool down. If the light has been on for a while, the bulb may be very hot and could burn your fingers or shatter if you touch it. Wait for at least 15 minutes before you attempt to remove it.

- Remove the old lightbulb by grasping it gently and turning it counterclockwise. You may need to use a cloth or a glove to protect your hand from sharp edges or dust. If the bulb is stuck or hard to turn, you can use a rubber band or a piece of duct tape to get a better grip. Wrap the band or tape around the bulb and twist it with your hand. Be careful not to apply too much force or you could break the bulb.
- Dispose of the old lightbulb properly. You can throw away most incandescent bulbs in the trash, but you should recycle compact fluorescent bulbs (CFLs) or LED bulbs, as they contain mercury or other hazardous materials. Check with your local waste management service for the best way to dispose of these bulbs.
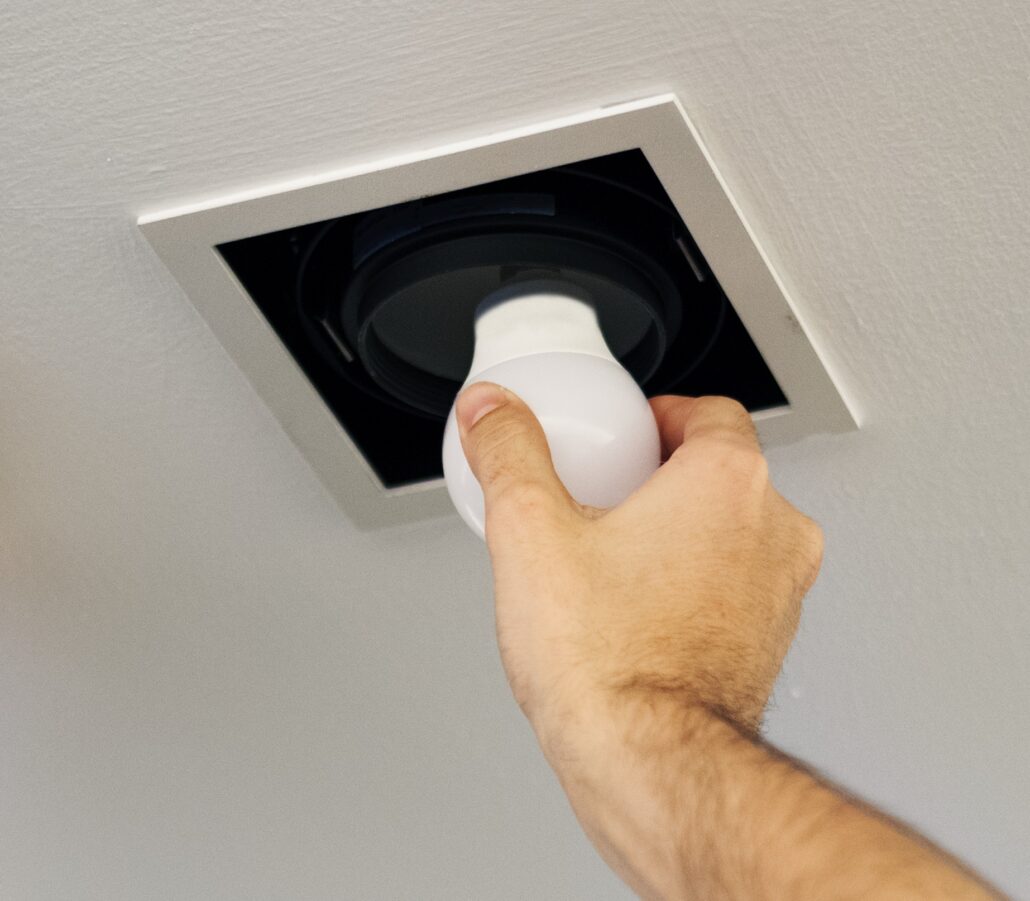
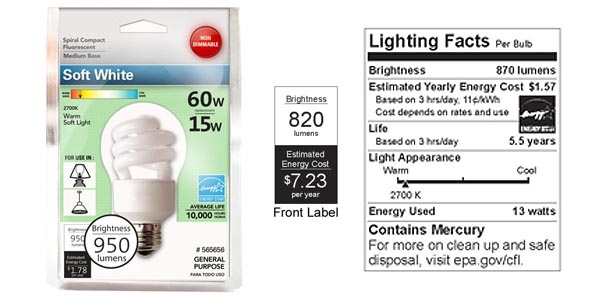
- Insert the new lightbulb into the socket by aligning the base with the threads and turning it clockwise until it is snug. Do not over-tighten the bulb or you could damage the socket or the bulb. Make sure you use a bulb that matches the wattage and voltage of the fixture, and that fits the size and shape of the socket. You can find this information on the label of the fixture or on the packaging of the bulb.
- Turn on the power to the light fixture and test the new lightbulb. If it does not work, check that it is screwed in properly and that there is no damage to the socket or the wiring. If it still does not work, you may need to replace the socket or call an electrician for help.
- Enjoy your bright and energy-efficient lighting!
Changing a lightbulb with a screw-type socket is an easy and rewarding DIY project that can save you money and improve your home’s appearance. By following these simple steps, you can change a lightbulb safely and quickly, and enjoy your new lighting for years to come.